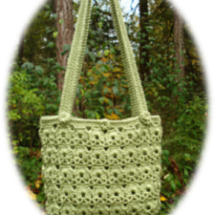
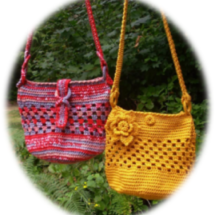
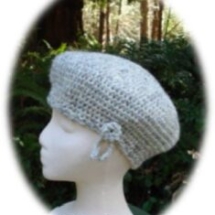
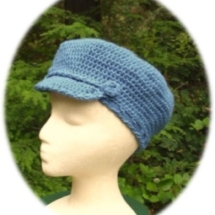
Crocheted buttons complement your handcrafted project. They can be the perfect touch to a lovely handmade sweater, cardigan or other wearable. Not just for closures, crocheted buttons can be used for embellishments as well. My Favorite Button adds interest to bags, hats and other accessories. Please find instructions below for crocheting this wonderful button.
I have used buttons for accents on hats, for centers in crocheted flowers, embellishments and to attach straps or handles to bags and purses.
You can purchase the above patterns and view my pattern collections at my Stellar Dreams Pattern Store on Etsy or Nancy Brown Designs on Ravelry. Just click on the link!
And, don’t forget that crochet buttons can enhance a boho look. Or the boho-chic style that has become very popular in crochet with a distinct personality of its own.
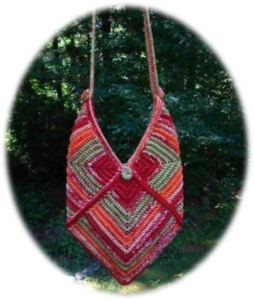
I’ve had a lot of enjoyment crocheting buttons. If you look at my collection of Patterns for Bags and Purses, you will notice that most of the designs that require buttons use crocheted buttons. Since most of my bag and purse designs are crocheted in a worsted weight acrylic yarn, buttons crocheted in the same yarn are sturdy, machine washable and easy to make.
My Favorite Button (see instructions below) is just about perfect. It is so easy and simple to make, might be just what you need to finish your next project!
Button Instructions
Materials: I Love This Yarn (a worsted weight or size 4 yarn) from Hobby Lobby.
Colors used: Key Lime and Hot Rose (see photo below).
Tools: Boye crochet hook, U.S. size H.
Instructions: Starting at the center of button, chain 2.
Rnd 1 (wrong side or inside of button): Work 6 sc in second ch from hook encasing the tail as you crochet. In other words, you will be carrying the tail along and crocheting over it as you work. Pull the tail to the inside or towards you and let it hang there. DO NOT join and DO NOT turn each rnd.
Rnd 2: Work 2 sc in each st around = 12 sts.
Rnd 3: Work 1 sc in each st around = 12 sts.
Rnd 4: Sc in next st, (sk next st, sc in next st) 5 times = 6 sts.
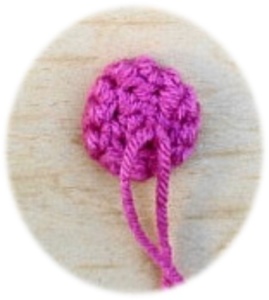
Rnd 5: (Sk next st, sc in next st) 2 times, sk next st, sl st in next st. Fasten off leaving a long tail for sewing. Tie the two ends together, this will stabilize the button and make it easier to sew to the project.
Note: The below photo shows the back side of the button, the side that will be sewn onto the project.
Although purchased buttons may be a good choice, sometimes you might want to add a button that matches the crochet project. It is not always possible to find the right color, size or shape at your local fabric or yarn store and at a price you want to pay. So, whether it’s price or availabilty, being able to make your own buttons and complete the design immediately is a great skill to have!
I hope you enjoy making these buttons and find many uses for them. I’m always working on new and exciting creations, please visit often to see new designs. Also, subscribe to News From Nancy to make sure you receive all the latest crochet information.
Best crochet wishes,
Nancy


